

How to Sell Clothing on eBay: Fees, Pricing and Listings
You're standing in a Goodwill aisle holding a $6 blazer, and the sold comps suggest it could sell for $42. The label looks right, but there's a faint mark on the sleeve and you haven't checked the measurements. Is it a flip, or another piece for the death pile?
Learning how to sell clothing on eBay means answering that question before checkout. The useful number isn't the sold price. It's what you expect to keep after fees, shipping, prep work, and the possibility that the garment comes back.
Table of Contents
- Run the Net Profit Math Before You Buy
- Where to Find Clothing Worth Flipping
- Price Garments with Sold Comps, Not Asking Prices
- Photograph and Measure Each Garment
- Write Titles and Item Specifics Buyers Search For
- Set Shipping and Returns to Protect Your Margin
- Make the Buy-or-Pass Call on Every Garment
Run the Net Profit Math Before You Buy
A blazer that sells for $42 can leave very different amounts in your account depending on its fee category, shipping cost, and whether the buyer returns it. Calculate the margin before buying, using the actual fee rate for the listing category rather than a broad apparel estimate.
eBay's seller-fee schedule shows that the final value fee applies to the total sale amount, which can include shipping collected from the buyer. Orders above $10 also carry a $0.40 per-order charge. Category rates differ: the schedule lists 13.6% for certain athletic-shoe sales below $150 and 15% for women's bags and handbags priced at $2,000 or less. Check the rate that applies to the garment you plan to list.
Put the deductions beside the sold price
The examples below use 13.6% solely to show the arithmetic, not as an apparel fee rate. They assume seller-paid shipping of $4.50 per garment, with no separately collected shipping or tax included. Replace the example rate with the rate for your category before making a buy decision.
Net profit on three typical clothing flips
| Garment and source | Buy cost | Sold price | Fees at example rate | Shipping | Net profit |
|---|---|---|---|---|---|
| Blazer from a Goodwill aisle | $6.00 | $42.00 | $6.11 | $4.50 | $25.39 |
| Ross clearance button-down | $8.00 | $40.00 | $5.84 | $4.50 | $21.66 |
| Thrift-store sweater | $5.00 | $18.00 | $2.85 | $4.50 | $5.65 |
For the blazer, the example fee is $42 multiplied by 13.6%, plus the per-order charge, rounded to cents. The arithmetic is $42 − $6.11 − $4.50 − $6 = $25.39.
The button-down leaves $40 − $5.84 − $4.50 − $8 = $21.66. A clearance markdown does not make a garment a good buy; the sold price and costs determine the margin.
The sweater leaves $18 − $2.85 − $4.50 − $5 = $5.65 before packaging or a return reserve. That margin is thin enough that one return or unexpected cost can wipe out the expected profit.
Don't confuse a planning estimate with take-home
These examples exclude packaging, advertising charges, and a return reserve. The fee base and shipping expense can also vary. Use this eBay fee calculator guide to account for your listing's costs, then set aside a reserve for the chance that a garment comes back, especially when fit or measurements could prompt a return.
Buying rule: A cheap garment isn't a bargain if the work costs more than the remaining margin.
Before buying, subtract marketplace fees, outbound shipping, packaging, cost of goods, and a return reserve from the expected sold price. Then weigh the remaining dollars against the time required to prepare, photograph, measure, list, and ship the garment. A strong percentage return on a small profit can still mean too little pay for the work.
Where to Find Clothing Worth Flipping
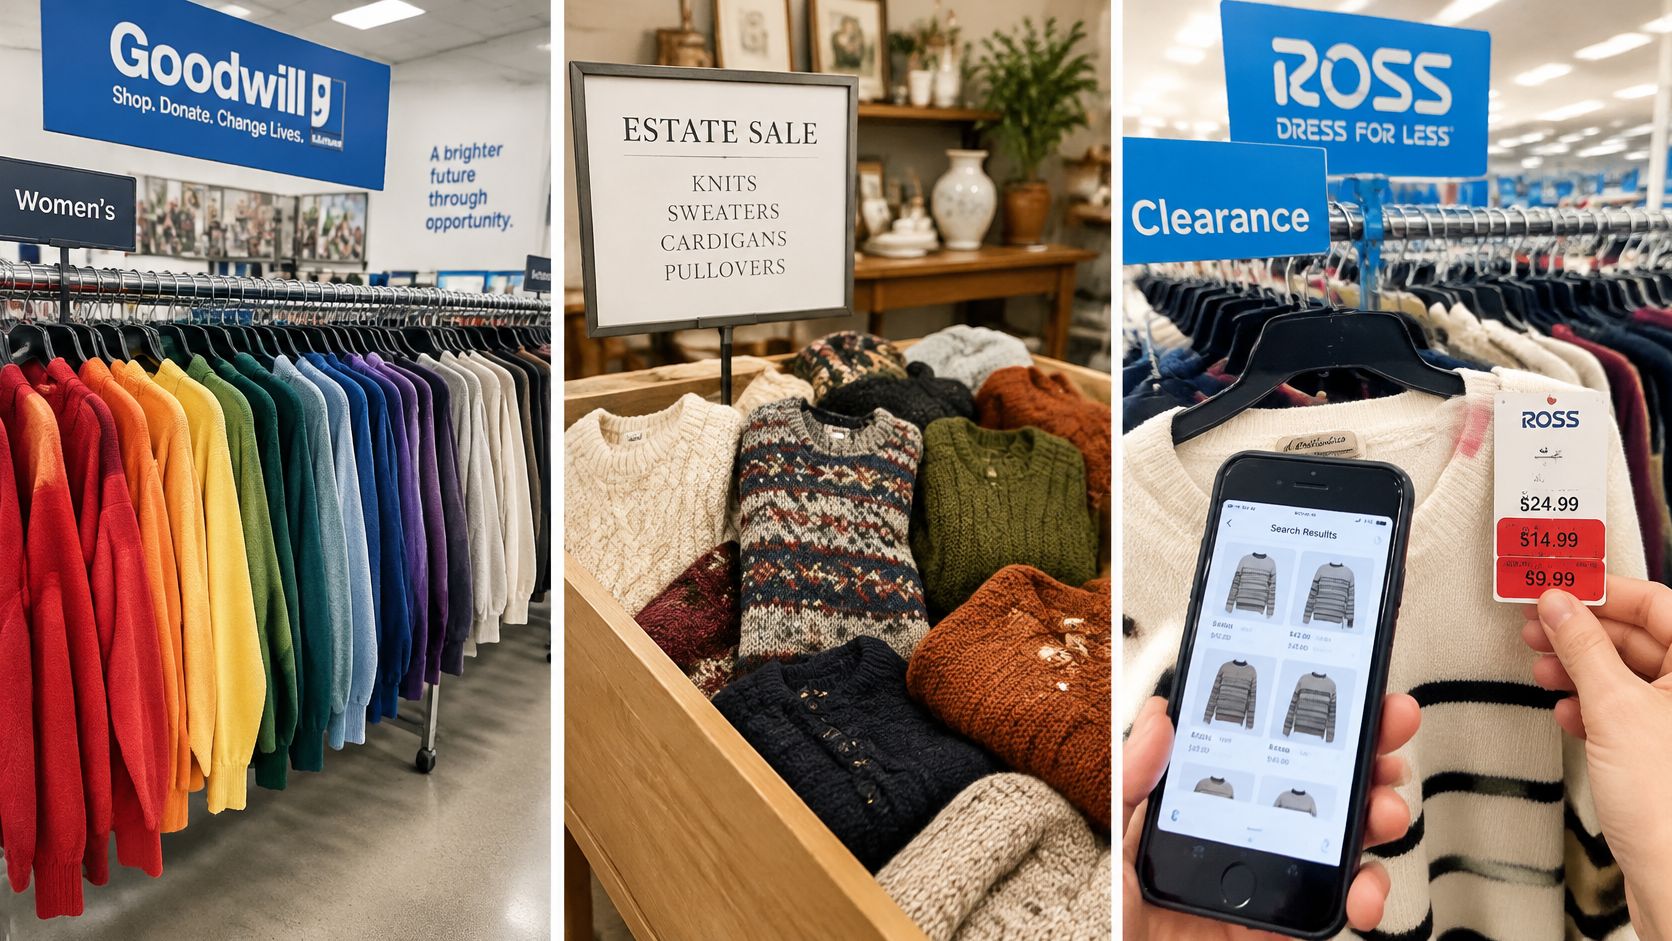
In a Goodwill aisle sorted by color rather than size, start with the label. Look for a brand you can identify quickly, then check fiber content and construction before pulling the garment off the rack.
I would prioritize wool, silk, and linen over an ordinary polyester blend, but only as a sourcing filter. Fiber content gives you a search angle, not permission to skip sold comps.
Work the rack differently at each stop
At an estate sale, dig through the mixed-knit bin when you can find readable labels and identify the pieces. Inspect cuffs, underarms, and folds for holes before getting distracted by a nice texture. If the pile is mostly unlabeled basics, I would move on rather than build a research project.
An older label deserves closer inspection, not an automatic vintage premium. Use this guide to identifying vintage clothing to investigate label details, construction, and other clues before assigning an era.
At Ross, a rack with repeated markdowns can still contain overpriced resale inventory. New-with-tags condition can justify a higher buy cost than a worn equivalent, but compare it with other tagged examples, not premium sales from a different style.
Set your own sourcing boundaries
eBay's annual report reported 135 million active buyers worldwide and 2.5 billion live listings at the end of 2025. There's reach, but there's also competition. Being somewhere inside a large marketplace doesn't establish demand for the garment in your hand.
My sourcing rules are straightforward:
- Identify it precisely. Know the exact brand, item type, tagged size, and searchable style details.
- Inspect before researching. Pass on stains or heavy pilling unless the label and expected proceeds justify restoration.
- Verify demand in the aisle. A BOLO is a prompt to investigate, not a standing buy order.
- Skip generic fast fashion. I would pass even at a hypothetical $2 when comparable basics are oversaturated and recent sales are scarce.
Those are buying boundaries, not universal standards. A specialist may profit from pieces another reseller should leave behind.
Price Garments with Sold Comps, Not Asking Prices
A listing priced at $90 is not evidence that a garment will sell for $90. Search sold listings by exact brand, style, size, and condition, then compare pieces that closely match.
Start with the last ten comparable sales when enough are available. Use the median as a reference point, then check the spread and whether shipping terms, bundles, or accepted offers affect comparability. A hypothetical wool midi dress with ten same-size sold comps ranging from $35 to $48 and clustered around a $45 median supports a target near $45. Three $90 sales for a different cut do not support doubling the price.
A range by itself does not establish a median. Review the individual sold prices and separate strong matches from visual lookalikes. A comparable should share the brand, model or cut, size, material, and condition. A similar silhouette from another collection offers only supporting context.
For the steps to filter and interpret eBay results, read this guide to finding sold prices on eBay. eBay pricing insights from SellerAI offer another reference for evaluating sold listings rather than treating active asking prices as proof of value.
Check demand and the selling channel
Price estimates proceeds; sell-through rate, or STR, helps assess whether an item is likely to move. Compare matching sold and active inventory over a consistent period. Brand-level demand alone does not establish demand for a particular garment, especially in a crowded category where generic styles may be oversaturated.
A jacket could bring a better result on Poshmark, Mercari, or Depop than on eBay, depending on the comps and costs on each platform. Check the likely net proceeds before choosing where to list.
ScanFlip AI compares real-time sold comps across eBay, Poshmark, Mercari, Depop, Amazon, and Whatnot. Its automatic profit calculator factors in fees and shipping to show take-home profit. Treat the results as evidence to review, not a substitute for judging whether the comps match the garment.
Returns and measurement risk belong in the buy calculation too. A sold price is only a starting point: allow for fees, shipping, and a return reserve before deciding what you can afford to pay. If thin comps or fit uncertainty leave too little margin, reduce your offer or pass.
Thin comps are a reason to reduce your buy cost or pass, not to invent a premium.
Buy only when a defensible sold-price target leaves enough net profit after fees, shipping, and return risk. If the only support is a vaguely similar garment, leave room for uncertainty in your offer, or leave the garment behind.
Photograph and Measure Each Garment
Treat photography as documentation first and presentation second. Buyers need to see the garment clearly enough to compare it with something they already own.
Follow a repeatable photo routine
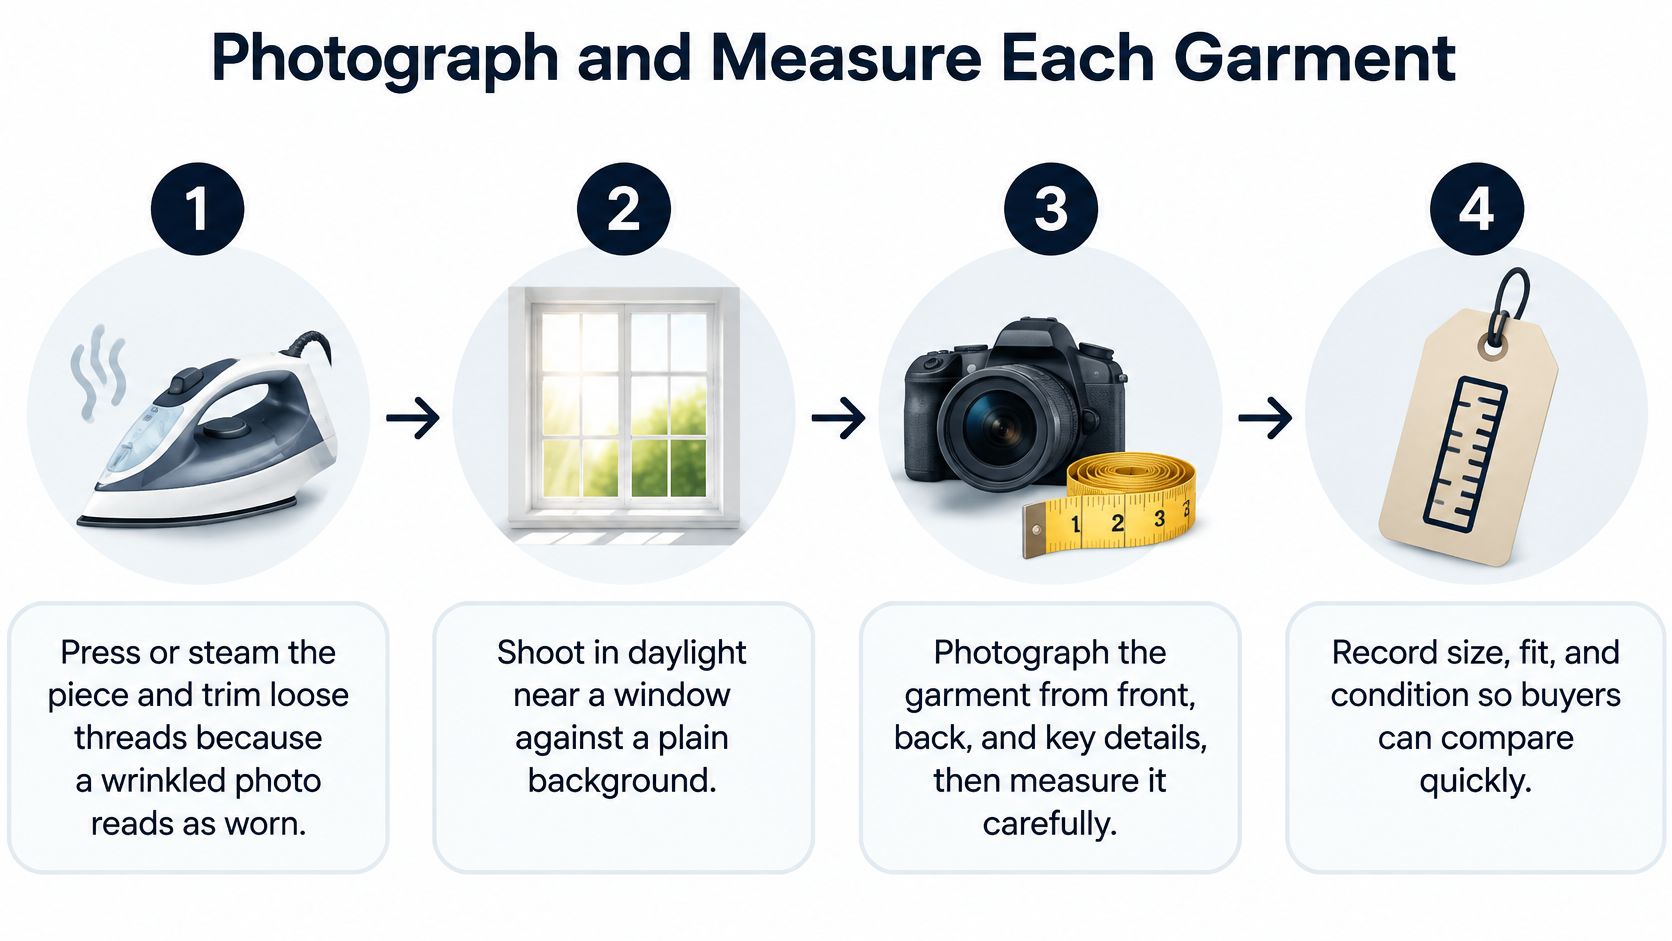
- Prepare the piece. Press or steam it as the care label permits, remove lint, and trim loose threads without cutting structural stitching. Wrinkles can make a clean garment look neglected.
- Set the light. Use indirect daylight near a window and a plain background. Check that navy still looks navy and dark fabric retains visible detail.
- Capture identification. Photograph the front, back, brand tag, size tag, and care label. Include lining, closures, and distinctive construction details.
- Document every flaw. Take close-ups of stains, pilling, missing buttons, thin spots, and repairs. Include a wider shot so buyers can locate each defect.
- Measure flat. Smooth the garment without stretching it, use a tape, and record the results in the description rather than copying the tag.
Measurements to take by garment type
| Garment | Measure flat | Also record |
|---|---|---|
| Jeans | Waist, rise, inseam | Leg opening, stretch level |
| Tops and shirts | Pit to pit, length, shoulder seam | Sleeve length from shoulder |
| Jackets and blazers | Pit to pit, shoulder, sleeve, length | Lining condition, button count |
| Dresses | Pit to pit, waist, length from shoulder | Slit or closure type |
| Skirts | Waist, hip, length | Lining or slip included |
| Vintage or altered pieces | Tagged size and measured size | Alteration marks, shrinkage note |
Describe how you measured
For a consistent working method, measure to the nearest half inch and state that measurements are approximate and taken flat. Specify endpoints, such as shoulder seam to cuff, and distinguish a flat waist width from a doubled waist measurement.
Record whether the fabric stretches and whether you measured it relaxed. For vintage or altered clothing, preserve the tagged size while separately describing the actual dimensions, visible alteration marks, and suspected shrinkage without presenting guesses as facts.
For clearer lighting and detail shots, the e-commerce image guidance from MyImageUpscaler is a useful reference. Don't edit away wear, change the color, or sharpen a flaw until it becomes misleading.
eBay community discussion of clothing returns illustrates why fit complaints and description accuracy need separate attention. Accurate measurements reduce uncertainty; guessed measurements can create a description dispute, even when you've disclosed the tagged size.
I would use about ten minutes as a hypothetical prep-and-photo budget for a straightforward piece. If pleats, delicate fabric, or complicated measurements will take longer, count that labor before buying.
Write Titles and Item Specifics Buyers Search For
Use this title formula: brand + item type + style or fit + size + color + material or lining detail. A hypothetical example is Talbots Wool Blazer Womens 8 Navy Lined, provided every word matches the garment.
Put the most identifying words first and stay within the title limit shown in the listing form. Vague phrases such as beautiful women's jacket use space without helping someone distinguish your item from another jacket.
Complete the searchable fields
eBay's listing guidance lets sellers enter item specifics including brand, size, type, color, and style, along with condition. Complete every relevant field accurately so buyers using filters have a chance to find the piece.
Use the tag photographs while entering details:
- Brand and size. Copy the label exactly, including petite, tall, plus, or other size designations. Don't substitute a size you think fits similarly.
- Material. Transcribe the fiber percentages from the care label. Keep shell and lining composition separate.
- Style and construction. Record useful distinctions such as lined, double-breasted, wide-leg, or zip closure when they apply.
- Vintage details. Include an era only when you can support it. An old-looking print isn't enough.
- Missing information. Say when a tag is absent instead of inventing the original size or fabric.
Missing specifics can exclude an otherwise suitable garment from a buyer's filtered search. Incorrect specifics are worse because they attract the wrong buyer and create an avoidable mismatch.
Make condition and description agree
Choose New with tags only for unworn pieces with original tags, and New without tags for unworn pieces missing them. Use Pre-owned for worn garments, with the actual wear described plainly; don't use a new condition just because something looks clean.
A useful description starts with identification, then measurements, construction details, and flaws. Put a visible stain or repaired seam where a buyer will notice it, not beneath a paragraph of styling suggestions.
Description check: If the buyer receives exactly what your words promise, have you still left out something that would matter?
Avoid keyword stuffing and unrelated brands. Repeating trending style terms doesn't turn an ordinary blazer into a different product, and it makes the listing harder to assess.
Before publishing, compare the finished listing with the sold comp used for pricing. If your item is worn, altered, missing its belt, or a different size category, change the comparison or the price rather than borrowing the better garment's value.
Set Shipping and Returns to Protect Your Margin
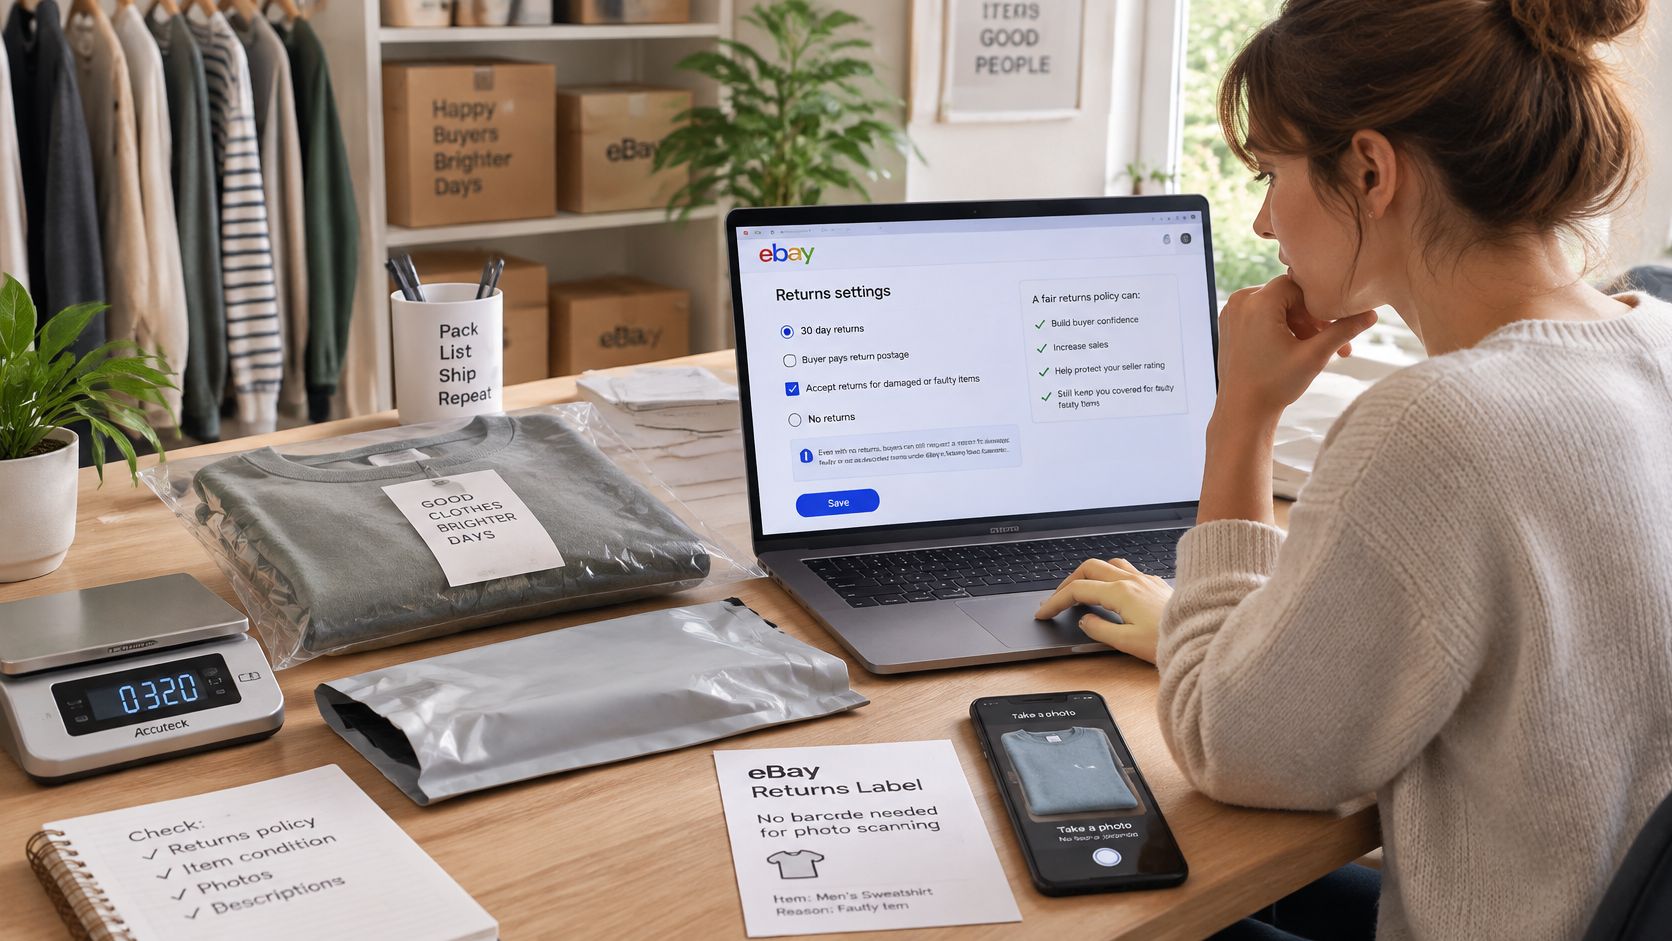
A no-returns setting isn't complete protection. Under eBay's selling and return guidance, Money Back Guarantee returns generally must be accepted when an item is damaged, faulty, materially different from its description, or the wrong item was sent, with the seller responsible for return shipping.
Buyer remorse and ordering the wrong size are different situations. Responsibility follows your stated return policy, so choose settings you can afford to honor rather than relying on a sentence in the description.
Who pays for common clothing return scenarios
| Return scenario | Who pays return shipping | What protects you |
|---|---|---|
| Item damaged or faulty | Seller under Money Back Guarantee | Photos and disclosure of every existing flaw |
| Materially different from listing | Seller | Accurate measurements and flat lays |
| Wrong item sent | Seller | Packing photo before sealing |
| Buyer changed mind or ordered wrong size | Your stated return policy determines responsibility | Clear sizing information and return terms |
Keep evidence without assuming it guarantees a decision
Save the original condition photos and check the item against the order before packing. A packing photo can support your records, but it doesn't guarantee that a dispute will be decided in your favor.
Pay particular attention to embroidery, monograms, and removed logos. Photograph puckering, loose stitches, and needle holes rather than describing a customized piece as an untouched blank.
If you're evaluating embroidered garments, Dirt Cheap Headwear's logo digitizing guide provides useful background on translating logos into embroidery. That context can help you inspect decoration, but don't infer workmanship or authenticity from a logo alone.
Weigh the packed garment before listing
Use a scale with the actual mailer or box, then check the carrier's rate for the packed weight and dimensions. A lightweight shirt and a structured, lined blazer shouldn't inherit the same shipping assumption merely because both are clothing.
For a hypothetical budget, $4.50 can be a starting shipping estimate, not a promised rate. Replace it when the actual package costs more, and include the mailer, tape, protective inner bag, and any box in your cost calculation.
A hypothetical $5 sweater sold for $18 can become a losing transaction after a return label and extra handling. Resolve return requests through the order workflow, read the stated reason, and distinguish a fit issue from a genuine description error before responding.
Make the Buy-or-Pass Call on Every Garment
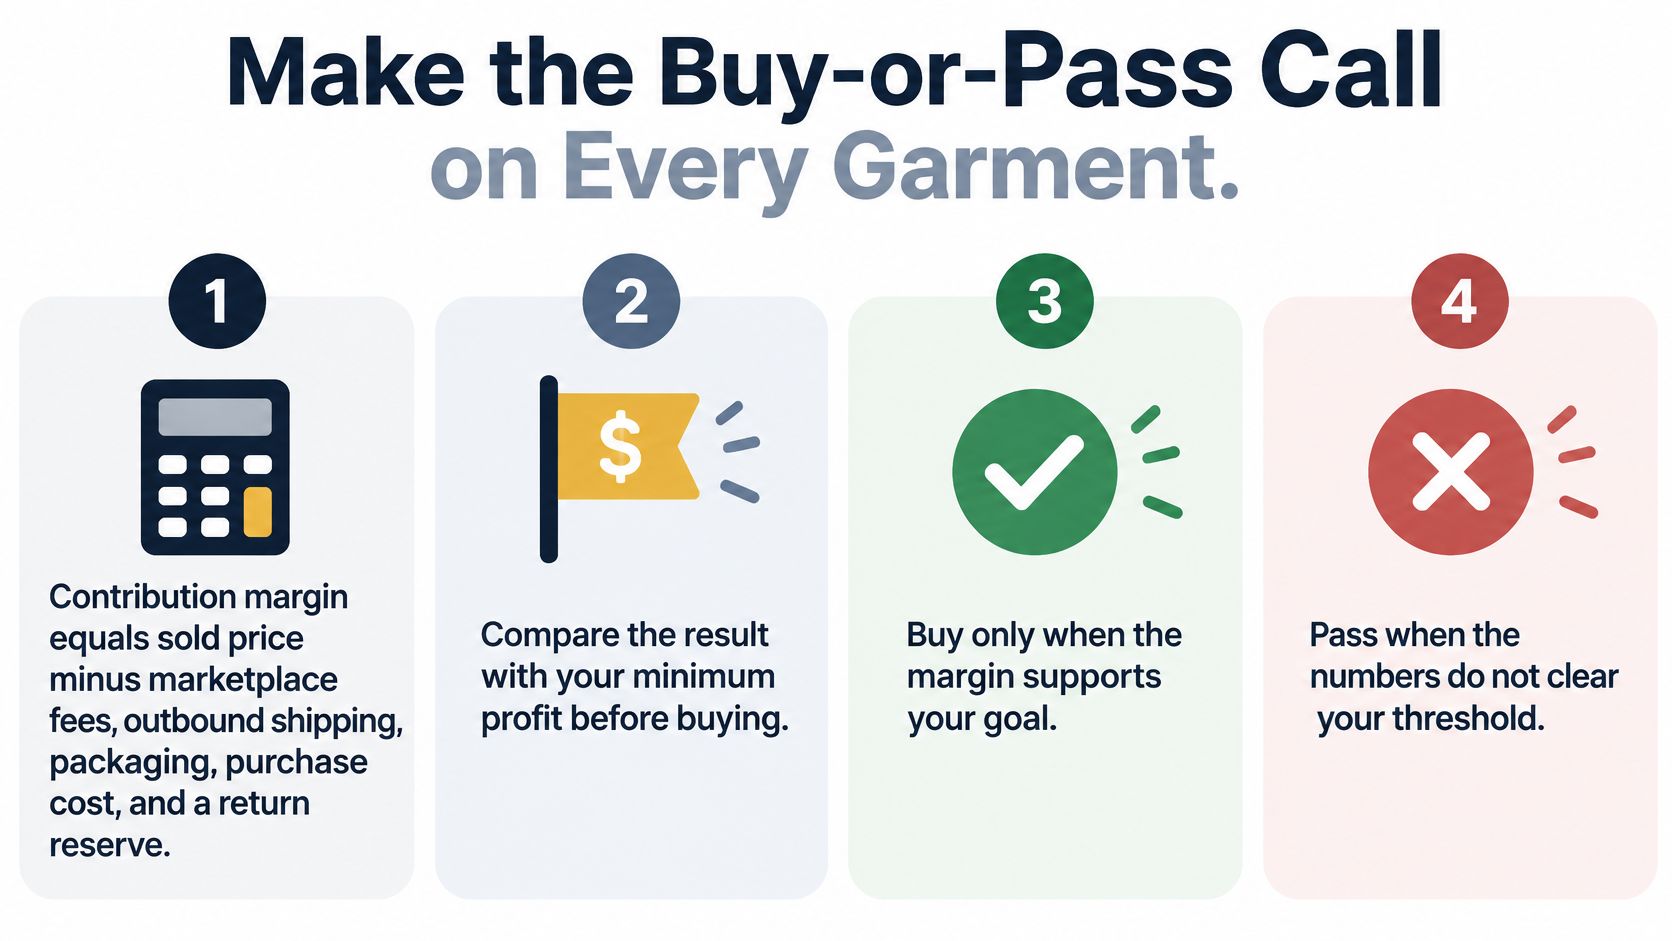
Set your minimum profit before entering the store. For a hypothetical $10-per-garment threshold, the relevant figure is contribution margin after a return reserve, not gross revenue or the highest comp you found.
Calculate it as sold proceeds minus marketplace fees, outbound shipping, packaging, purchase cost, and expected return-related loss. Include paid promotion when it applies, and don't treat this contribution figure as profit after all business overhead or taxes.
Give returns a place in the calculation
Size.ly's roundup of e-commerce return statistics cites an estimated 24.4% return rate for online apparel, compared with 19.3% across online sales overall. That's context for planning, not a prediction of your account's results.
For a hypothetical reserve, assume a return label costs $4.50 and handling costs $1.00. Multiplying the combined $5.50 loss by 0.244 gives approximately $1.35 per garment.
That simplified reserve covers only the assumed label and handling. Increase it when a return could also leave unrecovered outbound postage, cleaning costs, damage, or a markdown, and replace the benchmark rate with your own experience when available.
Apply the threshold without bargaining with yourself
Using the worked examples, the blazer's $25.39 becomes $24.04 after the hypothetical reserve, still before packaging. It clears the hypothetical $10 threshold if the remaining costs and labor are acceptable.
The sweater's $5.65 fails before a reserve is applied. Pass on it rather than explaining away the shortfall because the buy cost feels cheap.
- Require a real match. Confirm brand, model, size, and condition before trusting the comp.
- Check the channel. Choose based on expected proceeds and demand, not habit.
- Respect the cutoff. If the numbers don't clear your target, leave the garment.
On your next store trip, run this check on the next three garments you consider. Log each buy-or-pass verdict, then compare purchased items with their actual sold prices and final costs.
Use ScanFlip AI to identify an unfamiliar garment, check sold comps, and estimate net profit before you pay. Its sample scan shows an average of $145, a $15 cost, $102 estimated profit, and 14 sold comps, an illustration rather than a promised clothing result. Try it on your next sourcing candidate, then add your packaging cost and return reserve before following the flip-or-pass verdict.